Low hydraulic pressure reduces crusher force and throughput. Technicians must check fluid levels, inspect hoses, verify pump operation, and test valve settings. Proper diagnosis prevents costly breakdowns and extends equipment life through consistent routine checks.
- Check fluid level and viscosity before assuming a pump failure.
- Inspect hoses and fittings for external leaks and internal damage.
- Verify pump prime and suction line integrity to maintain flow.
- Test valve settings and accumulator pressure against manufacturer specifications.
- Log pressure readings during normal operation to establish a baseline.
Low hydraulic pressure directly limits the force available to break rock inside a crusher. When pressure drops below the operating window, the crusher may chatter, fail to maintain throughput, or stop entirely. Identifying the root cause requires a systematic approach that isolates the variable causing the loss of pressure.
Symptom recognition and immediate response
Before opening any component, observe how the crusher behaves under load. Operators often notice a drop in throughput before the pressure gauge shows a significant decline. A sudden loss of pressure is different from a gradual decline. Each pattern points to a different failure mode.
A sudden pressure drop usually indicates a mechanical break in the system. Hoses, fittings, or seals have failed and fluid is escaping. The operator should stop the crusher immediately to prevent further damage to the hydraulic components. A gradual decline often points to fluid degradation, internal pump wear, or a slowly developing leak in the accumulator.
Check the pressure gauge first. If the gauge reads low but the fluid level is normal, the problem lies in the pump, valve, or accumulator. If the fluid level is low, check for external leaks before investigating deeper components. Record the time, load condition, and pressure reading. This data helps separate a one-time event from a recurring trend.
Hydraulic fluid conditions and contamination
Hydraulic fluid is the medium that transmits force. Its properties determine how efficiently the pump can generate pressure and how long the seals will last. Oil that has lost its viscosity or contains contaminants will not perform as specified.
Check the fluid level in the reservoir. Low level causes air ingestion, which creates cavitation in the pump and drops effective pressure. Top up with the correct grade of fluid. Do not mix oil types. Even a small amount of the wrong fluid can degrade the viscosity and seal compatibility.
Look at the fluid color and consistency. Dark, sludgy oil indicates oxidation or water contamination. Water causes corrosion and destroys seal integrity. Particles in the fluid score pump vanes and damage valve seats. Check the fluid for free water with a simple test or a moisture indicator. If contamination is present, drain and flush the system before replacing the fluid.
The suction filter is the first line of defense. A clogged suction filter starves the pump of fluid. The pump then pulls air into the system, creating unstable pressure. Replace the suction filter on schedule. Inspect the suction line for kinks or loose clamps. A restricted suction path causes the same symptoms as a clogged filter.
Pump and suction system checks
The hydraulic pump converts mechanical energy into fluid flow. If the pump is worn or starved, it cannot maintain pressure. The drive shaft, coupling, and seal are common failure points.
Inspect the coupling for wear or misalignment. A worn coupling transmits vibration into the pump housing. This vibration damages internal components and accelerates seal wear. Check the drive shaft for play. Excessive play indicates bearing failure. Replace worn bearings before they fail under load.
The pump seal is a frequent source of internal leakage. When the seal fails, fluid bypasses the pressure chamber and returns to the reservoir. The pump spins but cannot build pressure. Listen for a whining noise. A whine often indicates low fluid level or air in the pump. A grinding noise suggests bearing failure.
Prime the pump before starting. Run the system at low speed to remove air from the lines. If the pump does not build pressure after priming, check the suction hose for blockage. A kinked hose or a collapsed hose creates a restriction that prevents the pump from reaching its rated flow. Replace the hose if it shows any signs of internal damage.
Valve, accumulator, and gauge verification
The pressure control valve sets the maximum force the crusher can apply. If the valve is stuck or set incorrectly, the system will not reach the required pressure. The accumulator stores energy and smooths pressure fluctuations. A failed accumulator causes pressure spikes and drops that stress the entire system.
Check the pressure relief valve setting. This valve protects the system from overpressure. If the setting is too low, the valve opens before the crusher reaches its operating pressure. Verify the setting against the manufacturer’s specification. Do not adjust the relief valve to compensate for a worn pump. Fix the root cause.
Inspect the accumulator. A failed accumulator bladder leaks fluid into the gas chamber. The precharge pressure drops, and the accumulator no longer absorbs pressure spikes. Check the precharge pressure with a gauge connected to the air valve. If the pressure is below the specified precharge, recharge the accumulator. Replace the bladder if fluid is detected in the gas space.
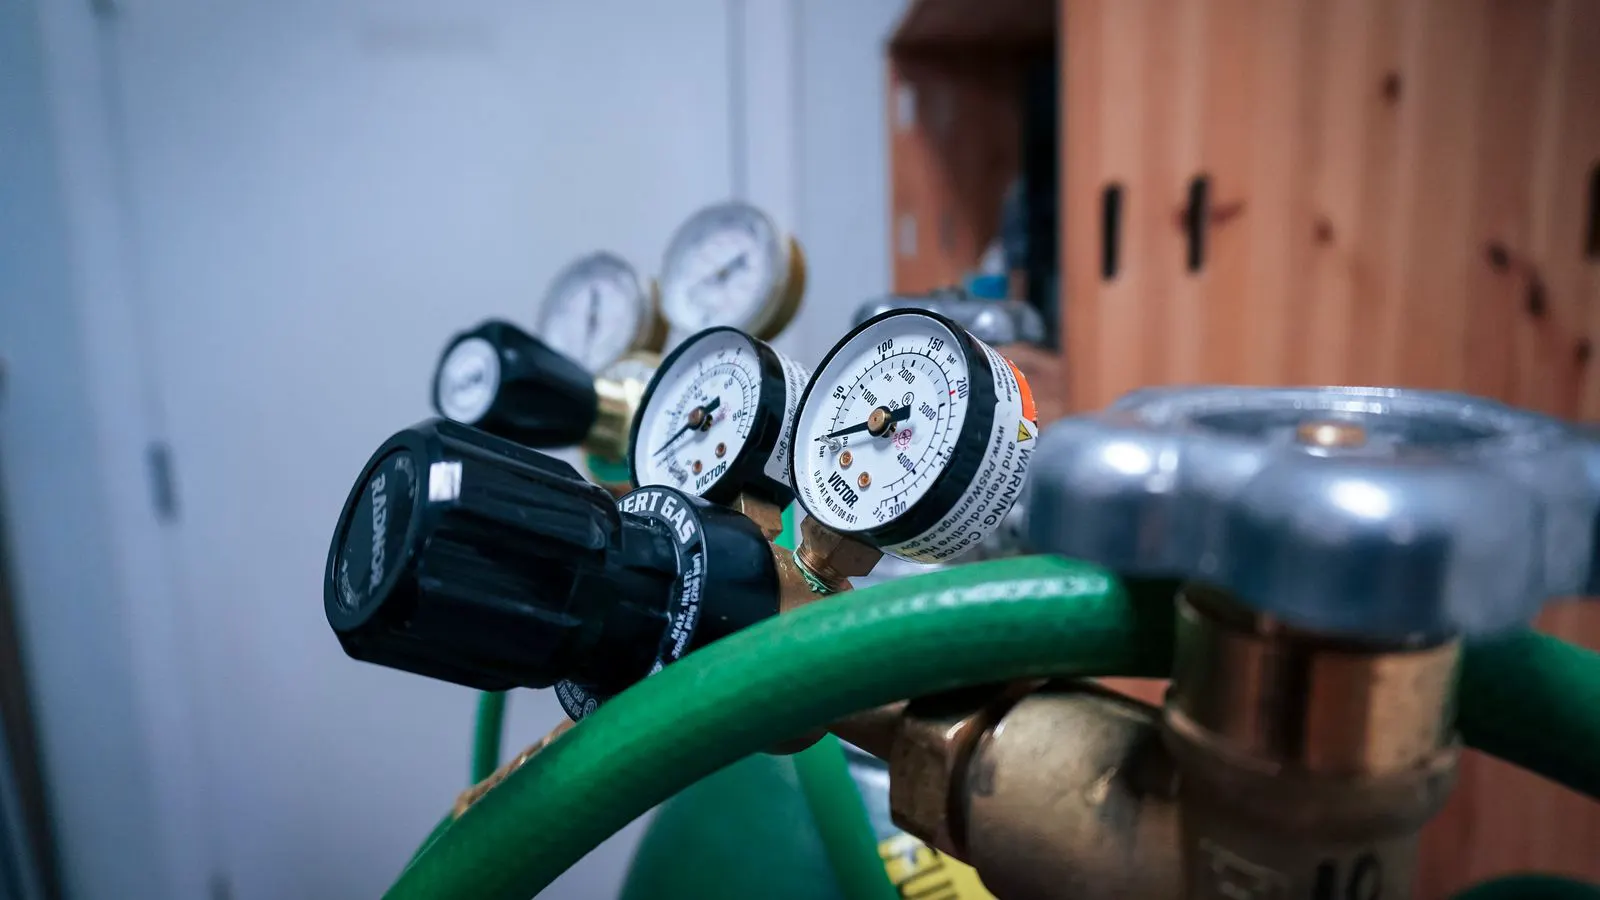
The pressure gauge must be accurate. A faulty gauge shows false low readings while the system actually holds pressure. Compare the gauge reading with a portable calibrated gauge. If the readings differ, replace the gauge. A bad gauge can lead to unnecessary disassembly and component replacement.
Diagnostic table and maintenance routine
The table below summarizes common symptoms, their likely causes, and the immediate actions required. Use this as a field reference. Match the observed behavior to the probable cause before disassembling components.
| Symptom | Likely cause | What to do |
|---|---|---|
| Sudden pressure drop under load | Ruptured hose or failed fitting | Stop equipment, isolate circuit, replace damaged component, check for internal line leaks |
| Gradual pressure decline over days | Worn pump seals or internal bypass | Check fluid level and temperature, listen for pump noise, inspect for external weep at pump housing |
| Whining noise and unstable pressure | Air ingestion or clogged suction filter | Inspect suction line and clamps, replace suction filter, prime system, check reservoir level |
| High pressure but low force | Stuck relief valve or incorrect setting | Verify relief valve setting, clean or replace valve if stuck, check for internal leakage |
| Pressure drops when hot | Fluid viscosity loss or thermal expansion issue | Check fluid grade, inspect for air bubbles, verify cooling system operation, check for internal wear |
| Intermittent pressure loss | Loose fitting or intermittent seal failure | Inspect all fittings and hoses, torque to specification, replace suspect seals, monitor for recurrence |
Establish a maintenance routine based on operating hours. Check fluid level and condition daily. Inspect hoses and fittings visually each shift. Test pressure readings weekly under standard load. Replace suction filters on a fixed schedule. Keep a log of pressure readings, fluid changes, and component replacements. This log reveals trends before a failure occurs.
Preventing hydraulic pressure issues in crushers
Prevention is cheaper than repair. A routine of checks and replacements stops most hydraulic problems before they become breakdowns. The goal is to keep the fluid clean, the seals intact, and the settings verified.
Use the correct hydraulic fluid grade for the operating environment. Hot or dusty conditions require specific fluid properties. Follow the fluid manufacturer’s recommendations for viscosity and service life. Do not extend the drain interval. Oil breaks down faster than expected in harsh mining conditions.
Protect the system from contamination. Keep the reservoir sealed. Clean the area around the reservoir before opening it. Use clean tools and clean rags for all service. Contamination is the primary cause of seal and valve failure. A few particles can score a valve seat or damage a pump vane.
Torque all fittings to the specified value. Over-torqued fittings crack the seal. Under-torqued fittings leak. Use a torque wrench for critical connections. Inspect hoses for abrasion, cracking, or bulging. Replace hoses that show any visible damage. Do not repair a hose with tape or a clamp.
Train operators to recognize abnormal behavior. A change in sound, smell, or performance is an early warning sign. Operators should report these changes immediately. Do not ignore a slight drop in pressure or a new noise. Early detection allows for simple fixes that save significant downtime.
Review the service history after each major repair. Check if the same component failed again. If a part fails repeatedly, investigate the cause. It may be a contamination problem, a misalignment, or a design issue. Do not just replace the part. Fix the underlying condition.
When to call a specialist
Some hydraulic issues require specialized tools and training. If the pump is damaged internally, the valve is scored, or the accumulator is corroded, professional service is needed. Attempting to repair these components without the proper tools can make the problem worse.
Contact the equipment manufacturer or a certified hydraulic service provider when internal component replacement is required. Provide them with your maintenance log, pressure readings, and a description of the symptoms. This information helps them arrive prepared. Do not guess the failure mode. Let the data guide the diagnosis.
If the pressure problem persists after routine checks, isolate the circuits. Test each circuit individually to identify the faulty branch. This step narrows the search and saves time. A specialist can use pressure test gauges, flow meters, and ultrasonic leak detectors to find hidden issues.
Frequently asked questions
What is the first thing to check when hydraulic pressure drops?
Check the fluid level in the reservoir and inspect the pressure gauge for accuracy. Low fluid level causes air ingestion, which immediately drops pressure.
Can a clogged suction filter cause low hydraulic pressure?
Yes. A clogged suction filter restricts fluid flow to the pump, causing air ingestion and unstable pressure. Replace the filter and check the suction line.
How do I tell if the pump seal is failing?
Listen for a whining noise and check for fluid weeping around the pump housing. Internal leakage causes the pump to spin without building pressure.
What is the role of the accumulator in hydraulic pressure?
The accumulator stores energy and smooths pressure fluctuations. A failed accumulator causes pressure spikes and drops that stress the hydraulic system.
How often should I check hydraulic pressure readings?
Check pressure readings weekly under standard load. Keep a log of the data to establish a baseline and detect trends before failure occurs.